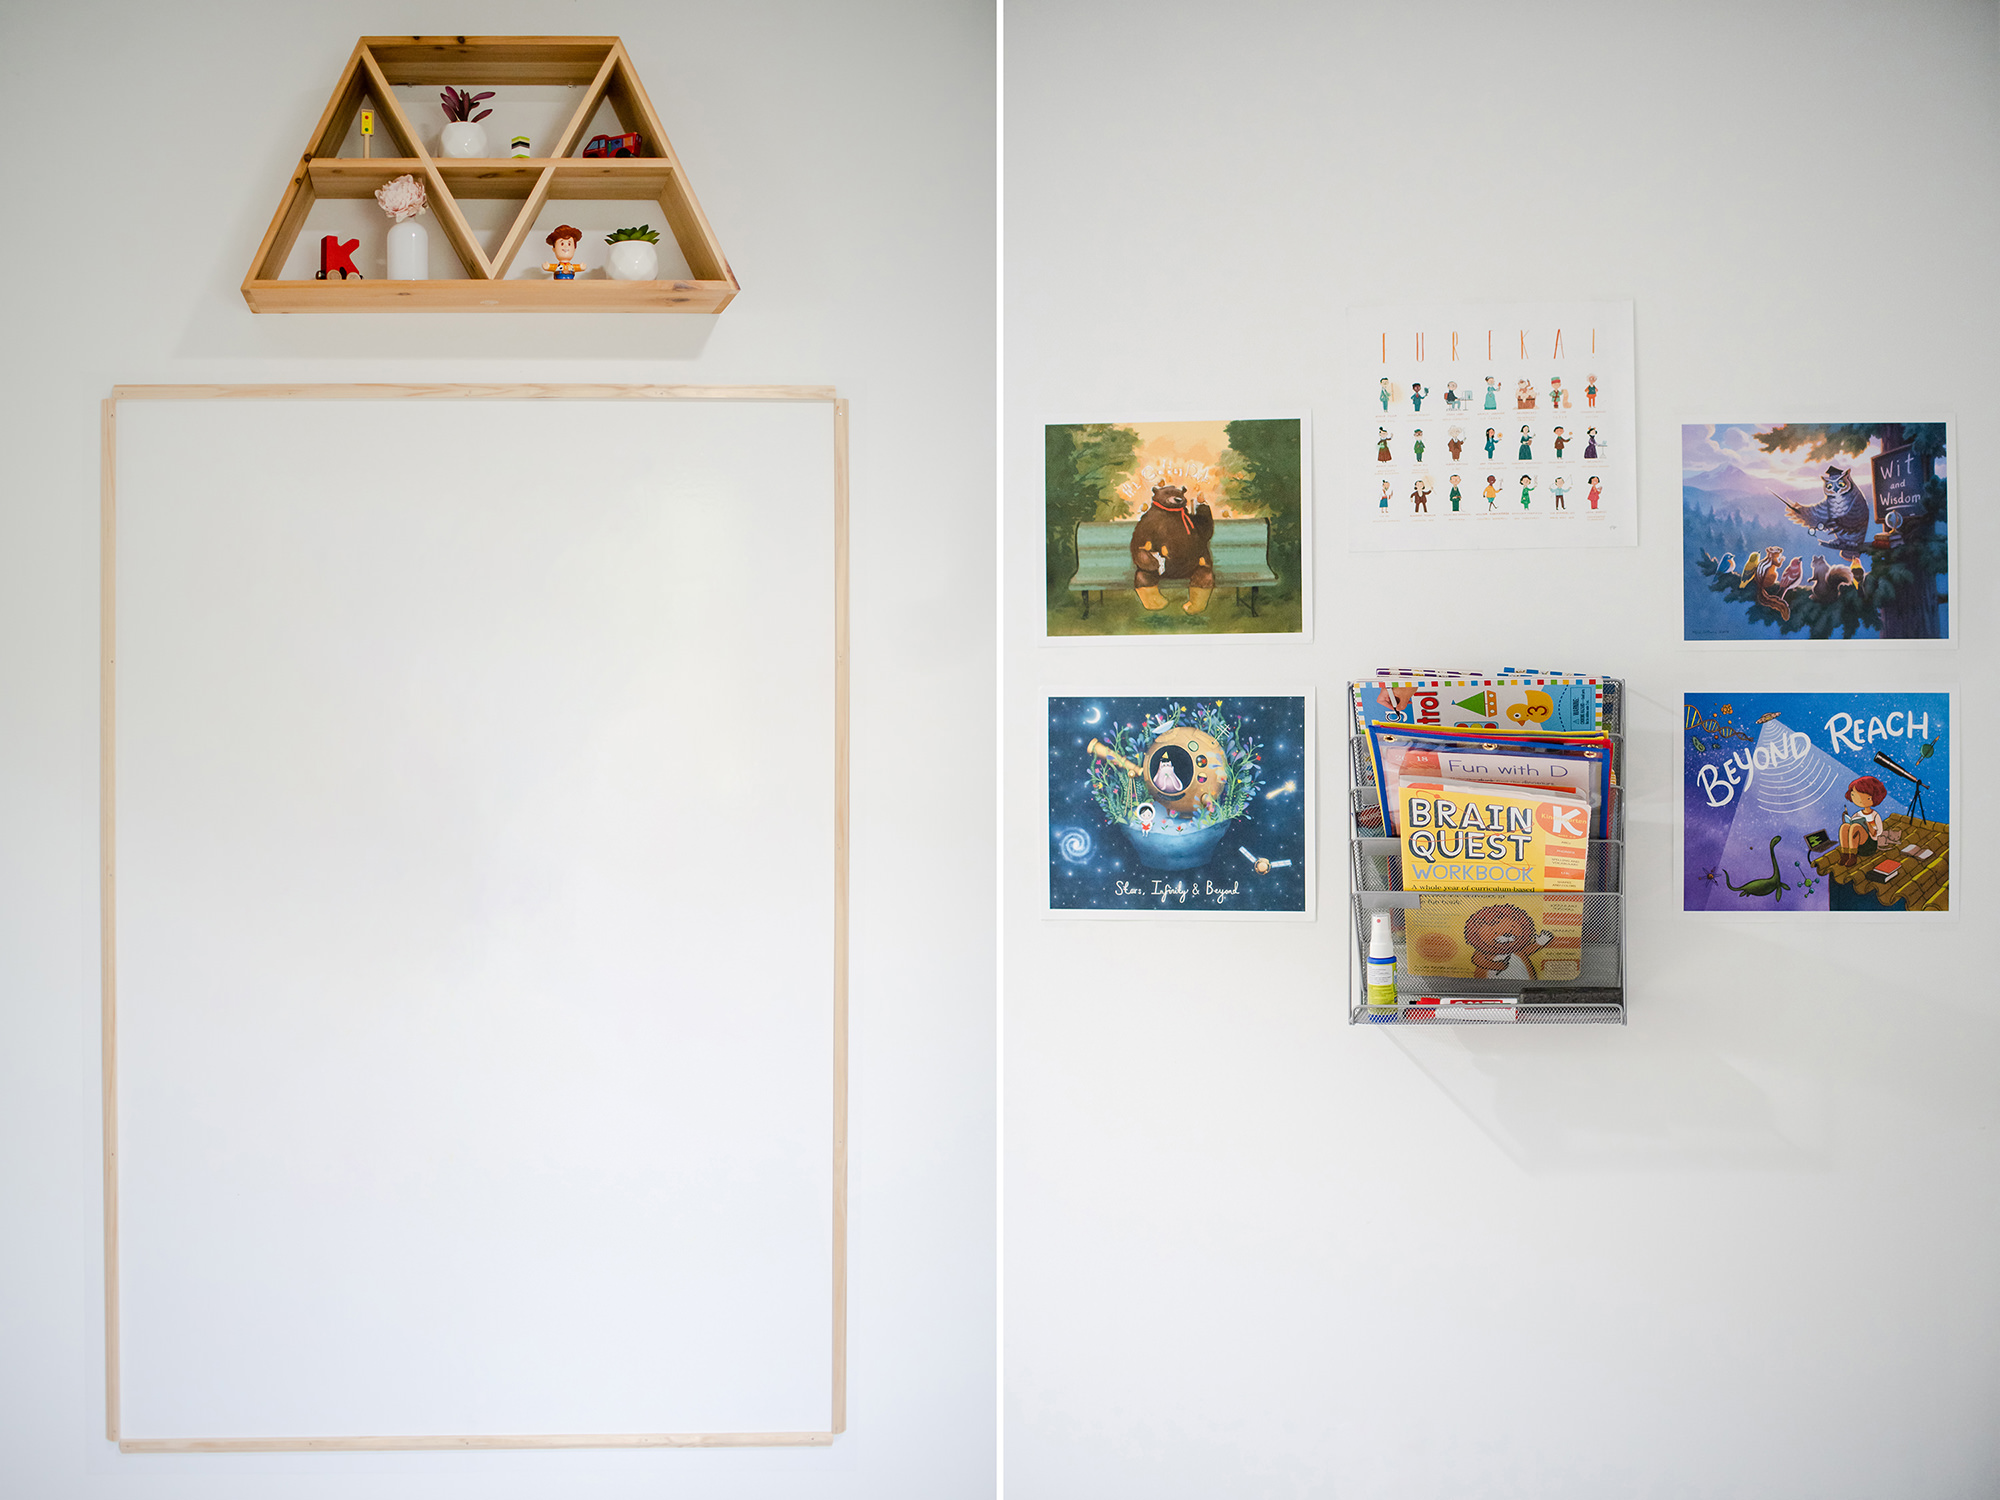
How to DIY Dry Erase Wall
If you’re like me, you want to work in a space that inspires creativity and growth. One main summer project for us was to create such a space for our boys in our finished basement. The final piece was a dry erase wall to facilitate our homeschooling objectives. I love how this DIY turned out and am excited to share with you how we did it.
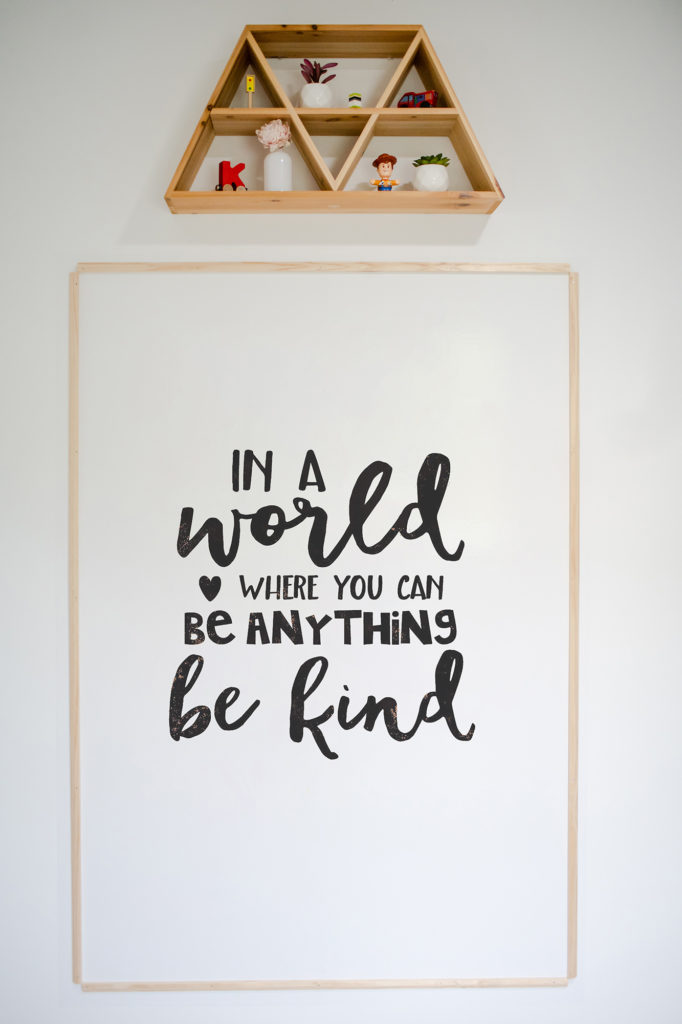
Materials
Dry erase adhesive
Wood trimmings
Wire nails
Instructions
- Apply dry erase adhesive to desired size
- Purchase wood trimmings and have them cut to size (we asked Lowe’s to do this for us)
- Frame the dry erase area using wire nails
That’s it! All done! We’re so excited to teach Khai to read, spell, and do math. It’s such a functional space that can grow with him (and Khang).
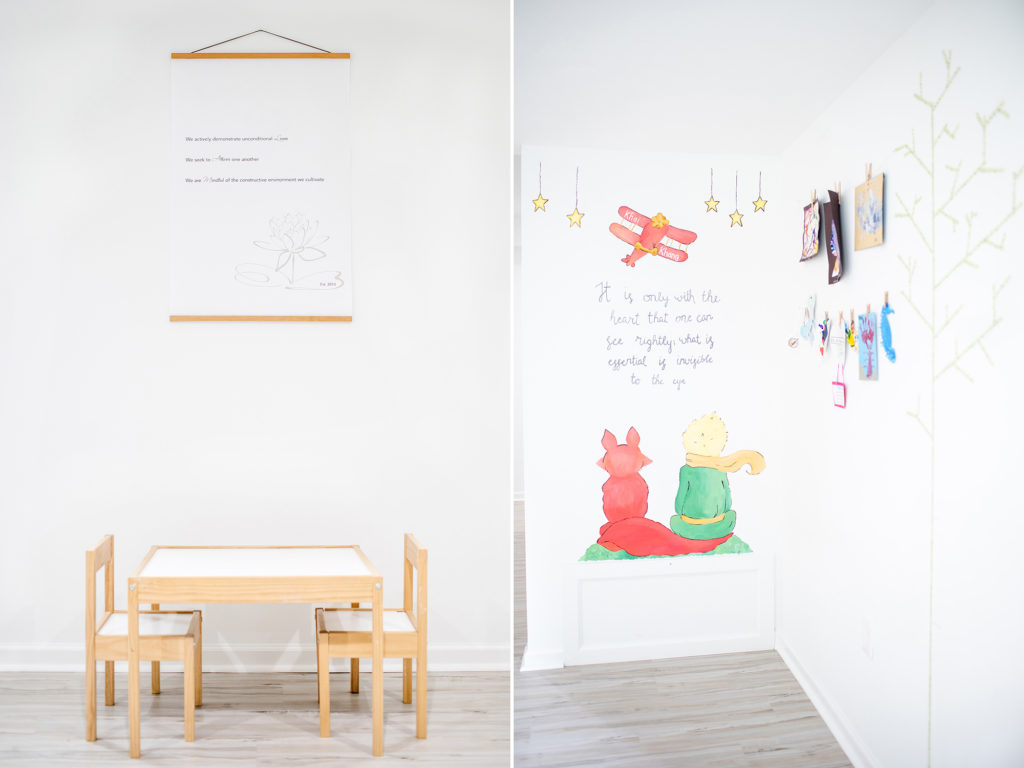
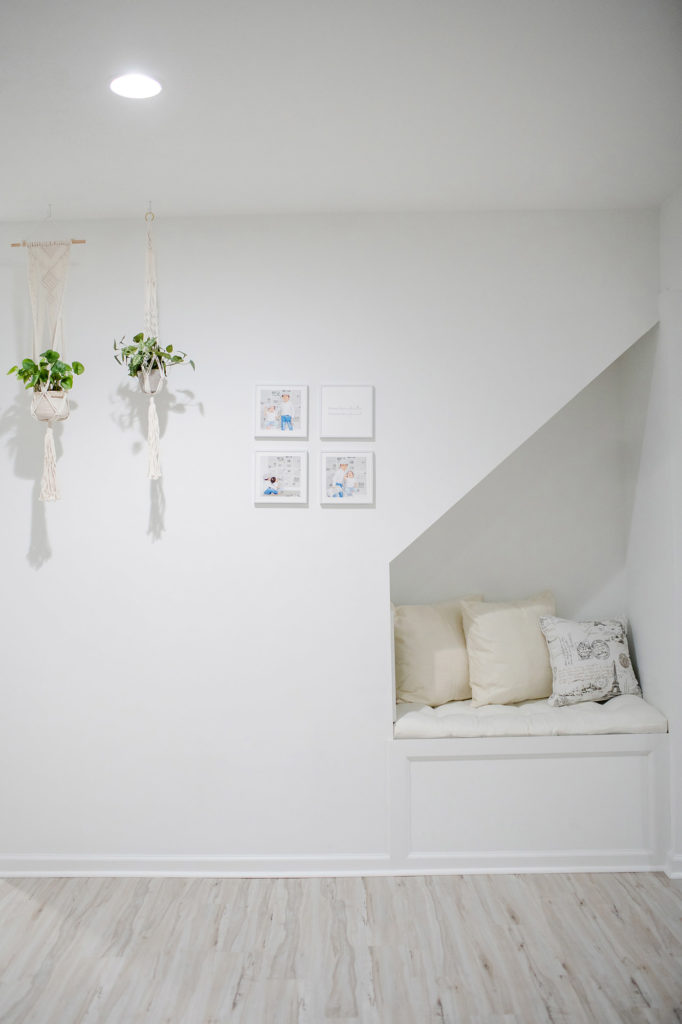
More pictures from our playroom: